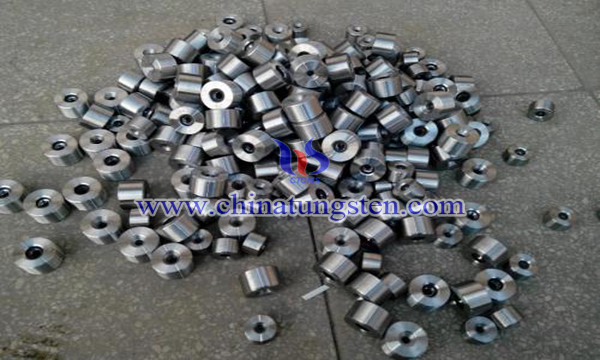
Grinding Process of Tungsten Carbide Drawing Die
- Details
- Category: Tungsten Information
- Published on Sunday, 22 July 2018 20:24
Mechanical grinding of tungsten carbide dies usually involves 4 operations: coarse grinding, fine grinding, correct grinding and polishing. The key technological parameters of each process, such as abrasive particle size, die diameter, working angle reserve, and sizing allowance, are as follows.
When the machine is used for grinding and drawing dies, the speed of the grinder is generally 1500~2000 r/min. The speed of the polishing machine must not be less than 3000 r/min. The length of the grinding needle should not be greater than 100 mm. Besides, for grinding needles, materials with certain hardness and strength should be selected. The roughness of the needle grinding face should be controlled below 0.03μm.

(1) Coarse Grinding
Coarse grinding is the first process of grinding the tungsten carbide dies. Because of the different shapes and angles of the parts, grinding needles must be constantly changed. Traditionally, the grinding sequence is the inlet cone, the lubricating cone, the work cone, the fixed diameter belt and the outlet cone. The most important parts of the linear drawing die are the work cone and the sizing belt. In order to ensure the size and geometry of the two parts, the traditional grinding process must be reformed. Recommended order of coarse grinding is working cone, outlet cone, fixed diameter belt and entrance cone.
In order to ensure that the die hole has enough smoothness, coarse grinding must be reserved for fine grinding and correct grinding. The angle reserve amount refers to that the grinding angle is smaller than the predetermined angle for 0.5 to 1.5 degrees when the working cone gets rough grinded. When the diameter of the drawing die is less than 3.0mm, the sizing strip is not coarsely grinded. When grinding the outlet cone, the grinder can be used as the grinding needle of the cone first. When the sizing belt is zero, it is replaced by a 60-degree needle and the outlet angle is increased. Attention should be paid to changing needles in time so that the roughness is Ra=1.6 to 2μm.
(2) Fine Grinding and Correct Grinding
After fine grinding, the mold basically reaches the predetermined size and keeps the polishing allowance. In general, F320 boron carbide is used for fine grinding, and the grinding sequence is work cone, fixed diameter belt, outlet cone and inlet cone. F500 boron carbide is used to correct grinding, of which the sequence is work cone and sizing belt. It is worth noting that: from rough grinding to polishing, the mould must be thoroughly cleaned every time the abrasive is replaced.
(3) Polishing
The purpose of polishing is to completely eliminate scratches and looping marks left by fine grinding and correct grinding, so that the roughness of the die hole reaches Ra=0.025μm. Bortz powder under F500 (M10/20), a paste of oil and abrasive paste are usually used for polishing. You can also use hard felt or bamboo or wood grinding needle to dip into diamond abrasives for polishing.
- Tungsten Carbide Manufacturer & Supplier, Chinatungsten Online: tungsten-carbide.com.cn
- Tungsten News & Prices of China Tungsten Industry Association: www.ctia.com.cn
- Molybdenum News & Price: news.molybdenum.com.cn
- Tel.: 86 592 5129696; Fax: 86 592 5129797; Email: sales@chinatungsten.com


 sales@chinatungsten.com